
Scribble is one of the amazing tools provided by Goodnotes to convert your handwriting to text automatically. This guide will detail the step-by-step approach to using scribble on Goodnotes. Let’s begin.
Steps To Use Scribble On Goodnotes
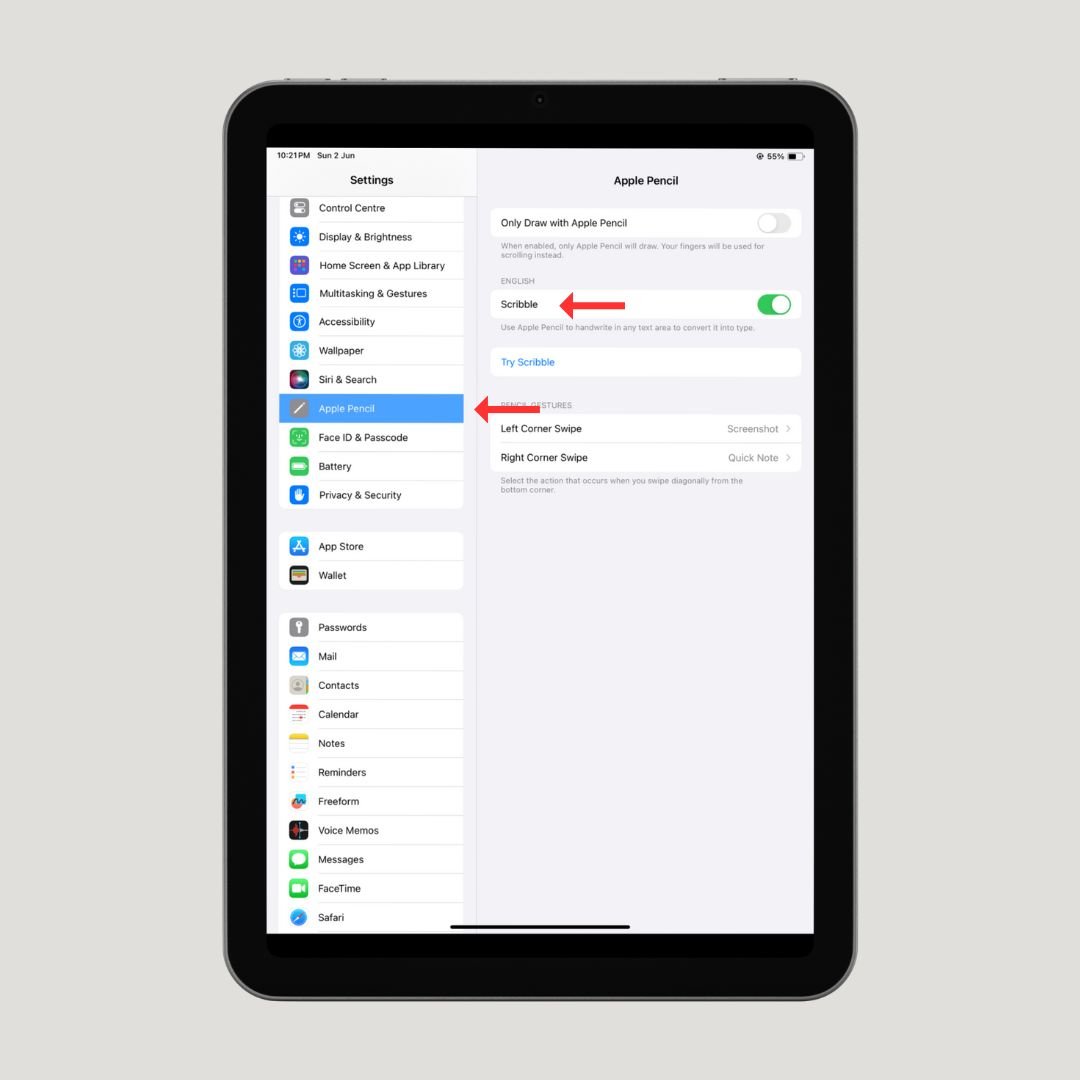
1 – First, to enable scribble on Goodnotes, navigate to the settings on your iPad, and search for “Apple Pencil”.
2 – Click on the “Scribble” toggle to enable this feature in Goodnotes.
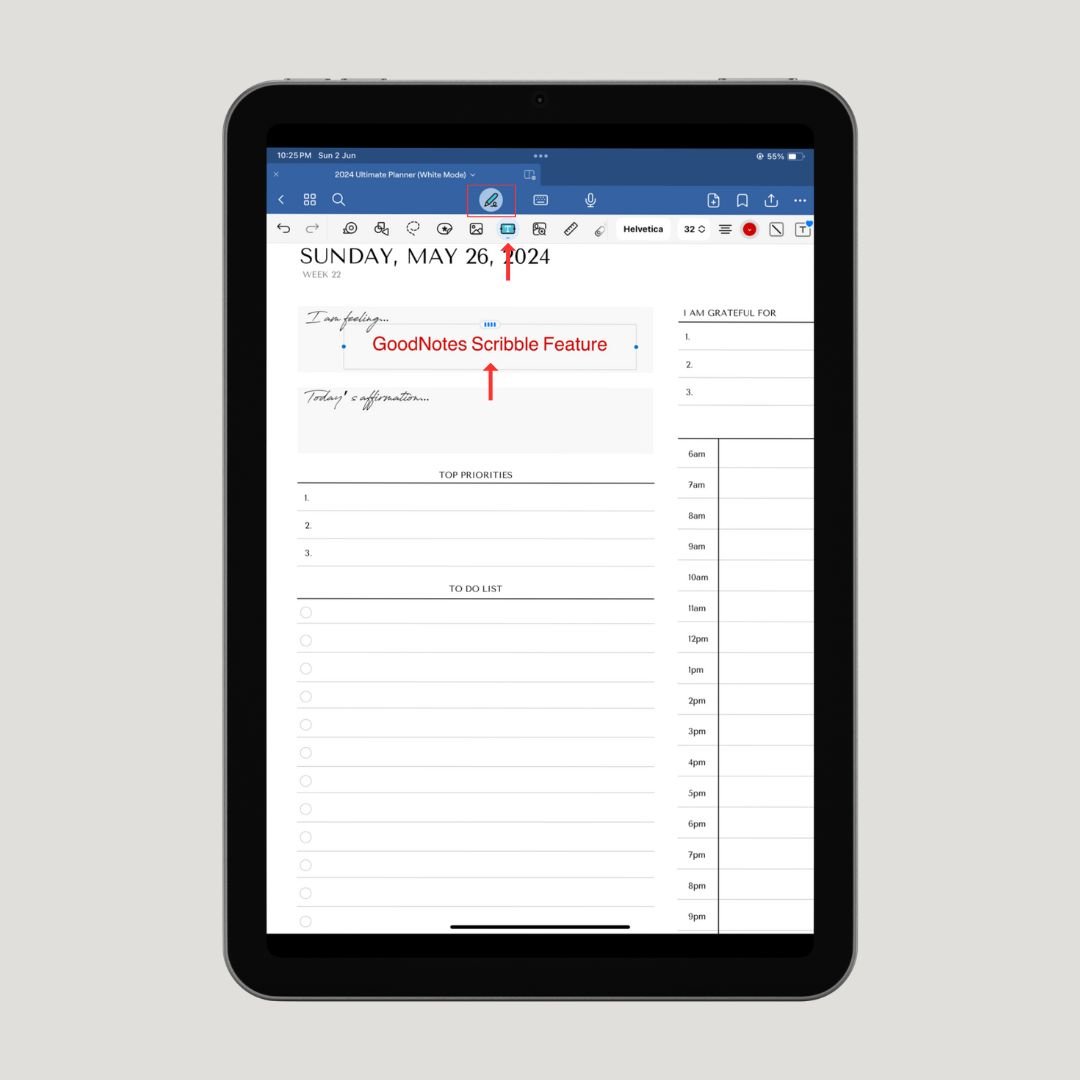
3 – Now, head over to the Goodnotes app and open your digital planner or notebook.
4 – Tap on the “Pen” tool to enable editing mode, and select the “Text” box icon to write and convert your handwritten text to your set font. And this is how you use scribble on Goodnotes.
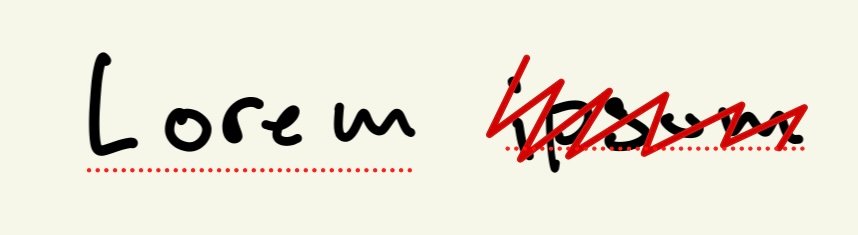
Using Scribble To Erase
Using scribble to erase handwritten words is another thing you can do with this feature. Simply scribble over the words or sentences you want to erase and the text will disappear immediately.
Disabling Scribble To Erase
Sometimes this feature can mess up when you’re writing notes. So in case you want to disable scribble to erase, this is how to do it:
1 – First, tap the pen tool twice on the screen
2 – Select “Pen Gestures” and choose “Scribble To Erase”.
Conclusion
So, these are the steps required to enable and utilize the scribble feature of Goodnotes. Hopefully, you’ll be able to utilize yours now. If you have any questions or concerns, you’re welcome to write them down in the comments section. 🙂
FAQs
Can Goodnotes convert handwriting to text?
Yes, Goodnotes can convert handwriting to text. For that purpose, you have to enable the scribble feature in your iPad settings in the Apple pencil section.
How do I enable handwriting on Goodnotes?
To enable handwriting on Goodnotes, simply use the fountain pen, ball pen, or brush pen from the pen tool options and start taking your notes in your handwriting.